
Don't be the messy roommate! Along with moving into a dorm room comes the need to keep it clean. Learn the basics, from a step-by-step guide on laundry to cleaning for infection prevention to stay healthy this school year.
Move In Checklist
After you've unloaded your boxes, give your new space a clean start.

Room Features
Door Handles: ☐ Clean ☐ Disinfect
Light Switches: ☐ Clean ☐ Disinfect
Floors: ☐ Vacuum or sweep, starting from the farthest corner and working toward the exit
Furniture
Bed Mattress: ☐ Vacuum and clean, consider disinfecting to get rid of dust mites, then top with a mattress cover and sheets
Bed Frame: ☐ Clean ☐ Disinfect
Desks and Chairs: ☐ Clean ☐ Disinfect
Drawers and Shelves: ☐ Clean ☐ Disinfect
Couch/Seating: ☐ Vacuum cushions and under cushions to remove dust and debris. If you have a hand-held garment steamer, use it to kill dust mites and remove stains. Alternatively, you can gently steam with an iron's steam function.
In the Bathroom
☐ Disinfect sink areas, toilet bowls, tubs, and showers to kill germs, mold, and mildew.
In the Kitchen/Kitchenette
☐ Clean and disinfect countertops, cabinets, sinks, backsplashes, and surfaces.
☐ Clean oven with an oven cleaner.
☐ Wipe down refrigerator walls and shelves using a nonabrasive, all-purpose cleaner.
☐ Run an empty cleaning cycle in dishwasher.
Did You Know
While it may seem obvious, there are big differences between cleaning and disinfecting.


NOTE: When using a disinfectant, read the label prior to using and pay attention to how long it needs to remain on the surface to ensure effectiveness. Learn more about proper disinfecting techniques.
Moving Out
Don't overlook these important steps when moving out of your housing. If renting, you want to get that security deposit back!
✓ Take out all trash.
✓ Remove nails from the walls and patch up any holes with putty. Repaint if needed.
✓ Ensure you haven't left any personal furniture or items behind. Remember to clear out the refrigerator and all cabinets and closets!
Foundations in Cleaning
Everyone likes to come home to a clean space. Here's how to easily conquer cleaning chores with your roommate.

Living Space
|
Daily ☐ Clean & consider disinfecting frequently-touched surfaces. ☐ Clean visible messes. ☐ Pick up personal items. |
Weekly ☐ Vacuum and/or sweep. ☐ Dust. |
Bedroom
|
Daily ☐ Put away clothes and dirty clothes in hamper. ☐ Organize personal items. ☐ Wipe down nightstand and dressers. |
Weekly ☐ Wash sheets/bedding. ☐ Vacuum/sweep floors (ex. under bed, behind desk and dressers). ☐ Empty trash. ☐ Wipe down mirrors. |
Kitchen/Kitchenette
|
Daily ☐ Clean & consider disinfecting frequently-touched surfaces (countertops, refrigerator door, etc.). ☐ Clean visible messes and crumbs. ☐ Wash dishes and/or load dishwasher. ☐ Put away food. |
Weekly ☐ Clean out refrigerator and toss any expired or old food. ☐ Clean inside and outside of microwave. ☐ Vacuum, sweep and/or mop. |
Bathroom
|
Daily ☐ Clean & consider disinfecting frequently-touched surfaces. ☐ Clean visible messes. ☐ Pick up and organize personal items. |
Weekly ☐ Clean toilet. ☐ Clean sink and countertop. ☐ Clean shower/bath. ☐ Vacuum, sweep, and/or mop. ☐ Wash towels and bathmats. |
 |
Keep clutter to a minimum and take advantage of storage where you can, like using under the bed storage. Having lots of stuff around makes cleaning harder and gives dust room to collect. Since dust triggers asthma and allergies, wipe down surfaces like light fixtures, blinds, window frames and baseboards, using a clean cloth and some dusting product. |
Cleaning Kit Checklist
Dorm/Common Spaces
⚬ Disinfecting spray or wipes
⚬ Hand Sanitizer
⚬ All-Purpose Cleaner
⚬ Glass and Window Cleaner
⚬ Small Vacuum
⚬ Paper Towels or Microfiber Cloth
Kitchen/Kitchenette
⚬ Dish Soap
⚬ Sponge
⚬ Dishwasher Detergent
Bathroom
⚬ Hand Soap
⚬ Toilet Bowl Cleaner
⚬ Shower Cleaner
Laundry
⚬ Laundry Detergent
⚬ Fabric Softener or Dryer Sheets
⚬ Stain Remover
⚬ Bleach
* Remember, use all products as directed on the label.
Cleaning with a Sick Roommate
When you live in close quarters, germs can spread quickly. If you or your roommate feel ill, follow the steps below to keep germs from spreading.
Cleaning for Illness Prevention

☐ Disinfect daily, especially items the sick person has touched.
☐ Once your roommate feels better, wash or disinfect all the devices and surfaces touched while sick.
☐ Make sure you and anyone sick washes their hands more frequently, following proper handwashing practices.
☐ Have hand sanitizer readily available for when washing with soap and water isn’t convenient or practical (e.g., carry it with you as you move about campus and use it before eating).
☐ Avoid sharing laptops, phones, pens/pencils, drinks, etc.
Know the difference between cleaning, sanitizing, and disinfecting, as well as proper disinfecting techniques.
Remember To:

Disinfect Surfaces Often
Especially frequently-touched surfaces like:
|
☐ Doorknobs ☐ Light switches ☐ Faucets |
☐ Keyboards ☐ Desks |

Clean Hands Frequently
Especially at key infection risk moments (e.g., before eating, after bathroom use, after contacting surfaces frequently touched by others).
- Use soap and water
- Scrub front and back of hands and between fingers
- Wash hands for 20 seconds
- Thoroughly dry hands with paper towel or a clean cloth towel
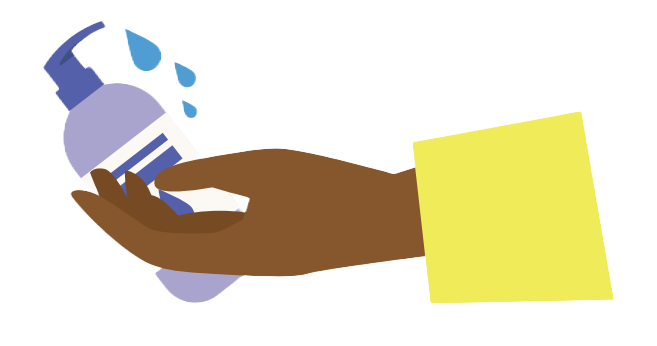
Use Hand Sanitizer
- Apply hand sanitizer to the palm of one hand
- Apply enough hand sanitizer to cover hands completely and keep hands wet for a minimum of 15-20 seconds (wet time on hands is the primary determinant of total germ reduction)
- Rub hands together, covering all hand surfaces (pay special attention to cover thumbs and fingertips)
- Continue rubbing until hands are dry

Sanitize Your Laundry
 |
Low Level: When everyone in your space is healthy
|
 |
Medium Level: When someone is sick with illnesses like a cold or flu.
|
 |
High Level: When someone has an infection that’s causing vomiting or diarrhea or has a weakened immune system. |
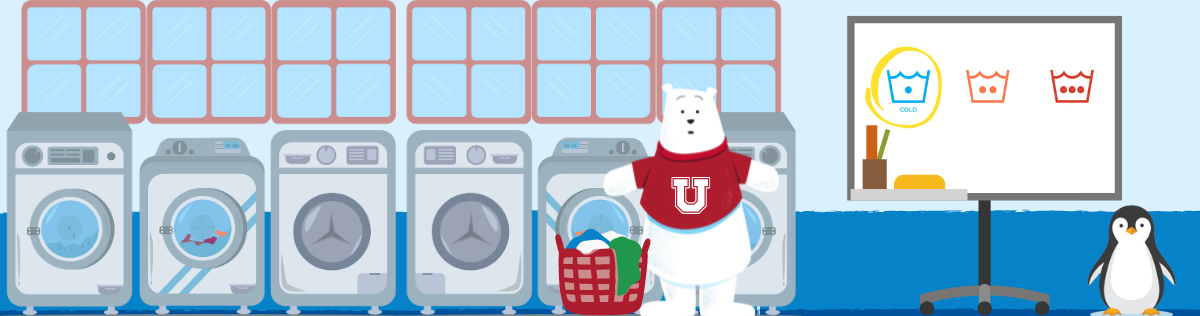
Laundry 101
Dirty laundry holds onto more than just body odor and food stains! It also carries germs that can cause illnesses. Get into a regular routine to stay healthy throughout the school year!
 |
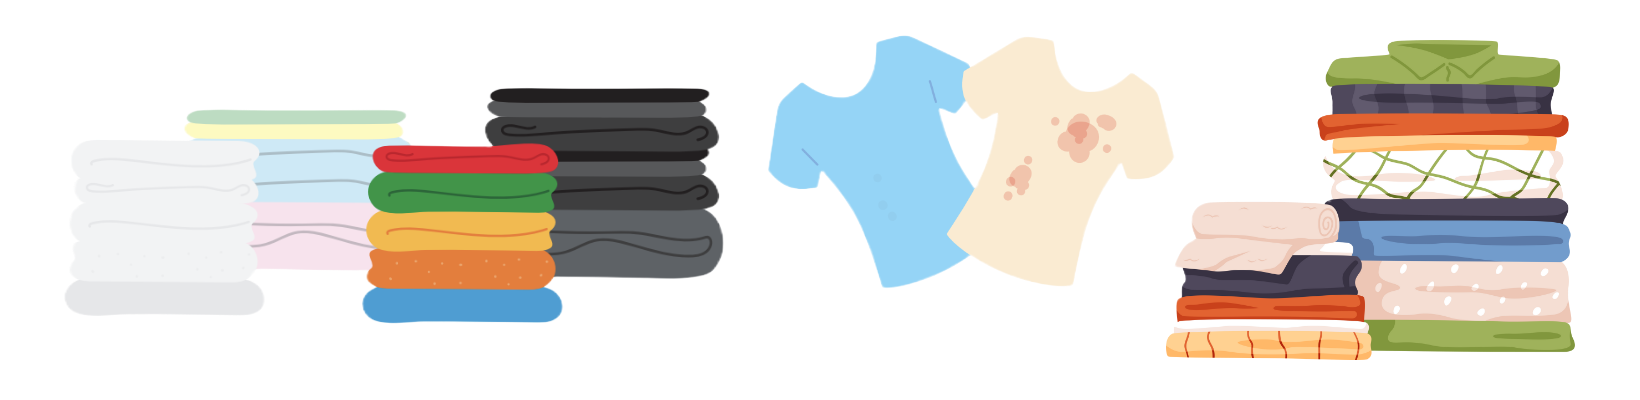
INTRO TO SORTINGSort By Color To keep light colored clothes from picking up dark dyes, wash whites separately; pastels and medium colors together; bright and darks by themselves. Sort By Soil Sort those really dirty items away from the slightly dirty ones, since slightly dirty items can pick up the extra soil from the wash water. *Remember to empty clothes pockets. Turn clothes right-side out, close zippers and check labels for any special instructions to avoid shrinking or ruining clothing. Refer to the stain guide to pre-treat any stains.
|
 |
LAUNDRY LAB: WASHING MACHINE SETTINGS
|
 |
LAUNDRY APPLICATIONS: DRYINGRead labels for clothing that should be hung or laid dry. To hand dry, put your clothes on a hanger or drying rack. To flat dry, lay clothes on a clean, flat surface. To avoid shrinking, dry most clothes on lower heat settings. Add a dryer sheet to avoid static cling.
|
 |
FABRIC CARE SYMBOLS AS A SECOND LANGUAGELearn how to read fabric care symbols! Your clothes’ fabric care labels have the best advice for washing and drying, plus information on ironing and bleaching. Here’s how to decipher the symbols. 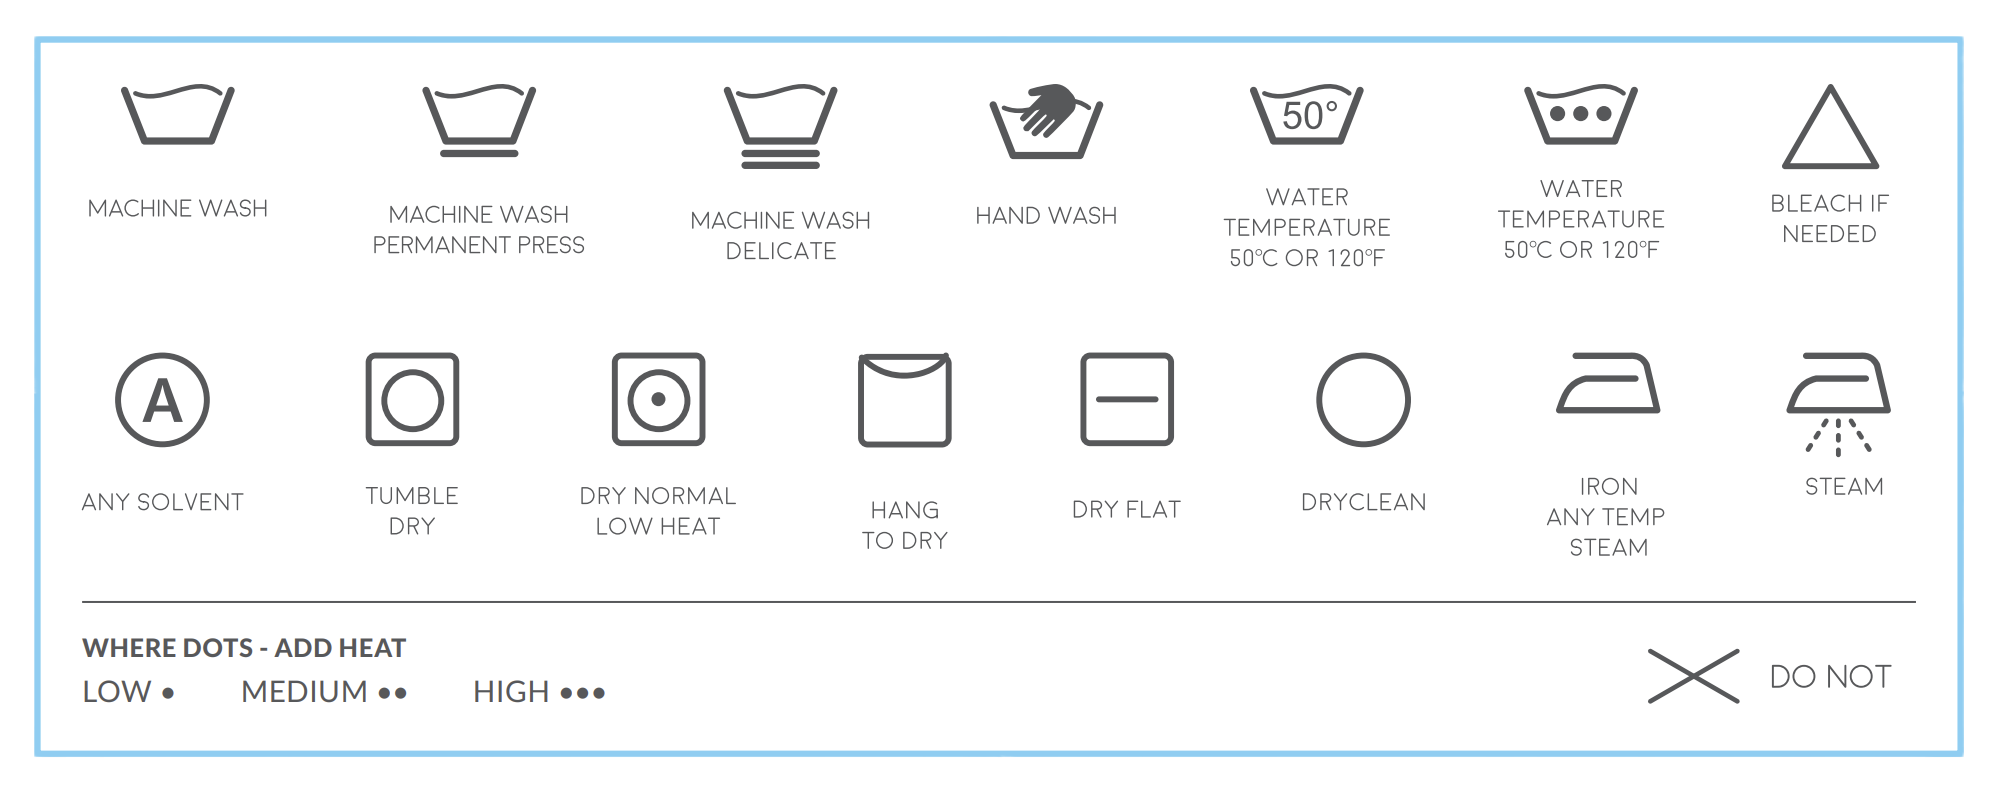
|
 |
DO I NEED TO WASH THISNot sure when to wash what? Follow the wash schedule below to keep your clothes fresh and clean. Wash After Every Use
Wash After 2-3 Wears
Wash After 3-5 Wears
What About the Sheets?Wash bed sheets every two weeks. You don’t want to share your bed with dust mites – and their carcasses and fecal matter. |
Stain Guide
Dealing with a stubborn stain? Use this guide to help you get the tough ones out.
DRINKS |
|
 |
|
COFFEE/TEA |
|
 |
|
COSMETICS |
|
 |
|
GREASE/OIL |
|
 |
Light
Heavy
|
DEODORANTS |
|
 |
Light
Heavy
|
INK |
|
 |
|
PERSPIRATION |
|
 |
|
BODILY FLUIDS |
|
 |
|
|
Make sure the stain is gone before you put your clothes in the dryer! The heat from the dryer can make the stain set in. |
Extra Credit: Wash in Cold
Rinse and spin or permanent press? Fabric softener or sanitizer? There are a lot of decisions when doing laundry but water temperature no longer needs to be one of them. Be at the head of your class by washing in cold.
 |
PROTECT YOUR CLOTHESFast fashion is out. Keep your favorite outfits looking better so you can wear them longer. Wash them in cold water to help slow color fading, reduce shrinking and protect delicate fabrics. With today’s technology and detergents, cold is the best temperature to get most stains out, too.
|
 |
PRESERVE THE PLANETThis is a small habit change with a big impact. Doing laundry in cold water for one year could conserve enough energy to drive a car up to 421 miles. Reduce the environmental impact of your clothes by reducing the carbon footprint of laundry day.
|
 |
SAVE ENERGYIf you're living off campus, odds are you have a washing machine and pay for your own utilities. That's even more reason to turn down the temp. Nearly 90% of the energy a washing machines uses goes toward heating the water. Washing in cold water can save as much as $200 a year! Learn more at ColdWaterSaves.org. |
Safety Prerequisites
SAFETY 101
🛇 Don’t mix cleaning products.
✓ Keep cleaning products in their original containers with labels intact.
✓ Read and follow label directions when cleaning and disinfecting.
Infographics

